
For Java & Spring Developers
Full Stack Professional with AI
Master everything you need with this comprehensive bundle
Master Full Stack Development with Java, Spring Boot, React, TypeScript, AWS, Docker, CI/CD, and AI. Includes everything you need to become a professional Full Stack Developer.
Join 100,000+ other developers
Includes 15 Days Money-Back Guarantee

Josh Long
Spring Developer Advocate
"Amigoscode does a pretty darned good job, and consistently too, covering Spring and for that, I'm very appreciative!"
I've Been There
Does This Sound Like You?
I've tried every course and I'm MORE confused than when I started
I'm learning in circles, rebuilding the same concepts three different ways
I can't tell if my code is 'good enough to ship' or a ticking time bomb
I'm wasting my 2-10 hours per week because I don't have a clear process
I've watched 100+ tutorials and now I'm MORE confused than before
Courses Included
Courses Included in This Bundle
Get access to all these courses when you purchase this bundle
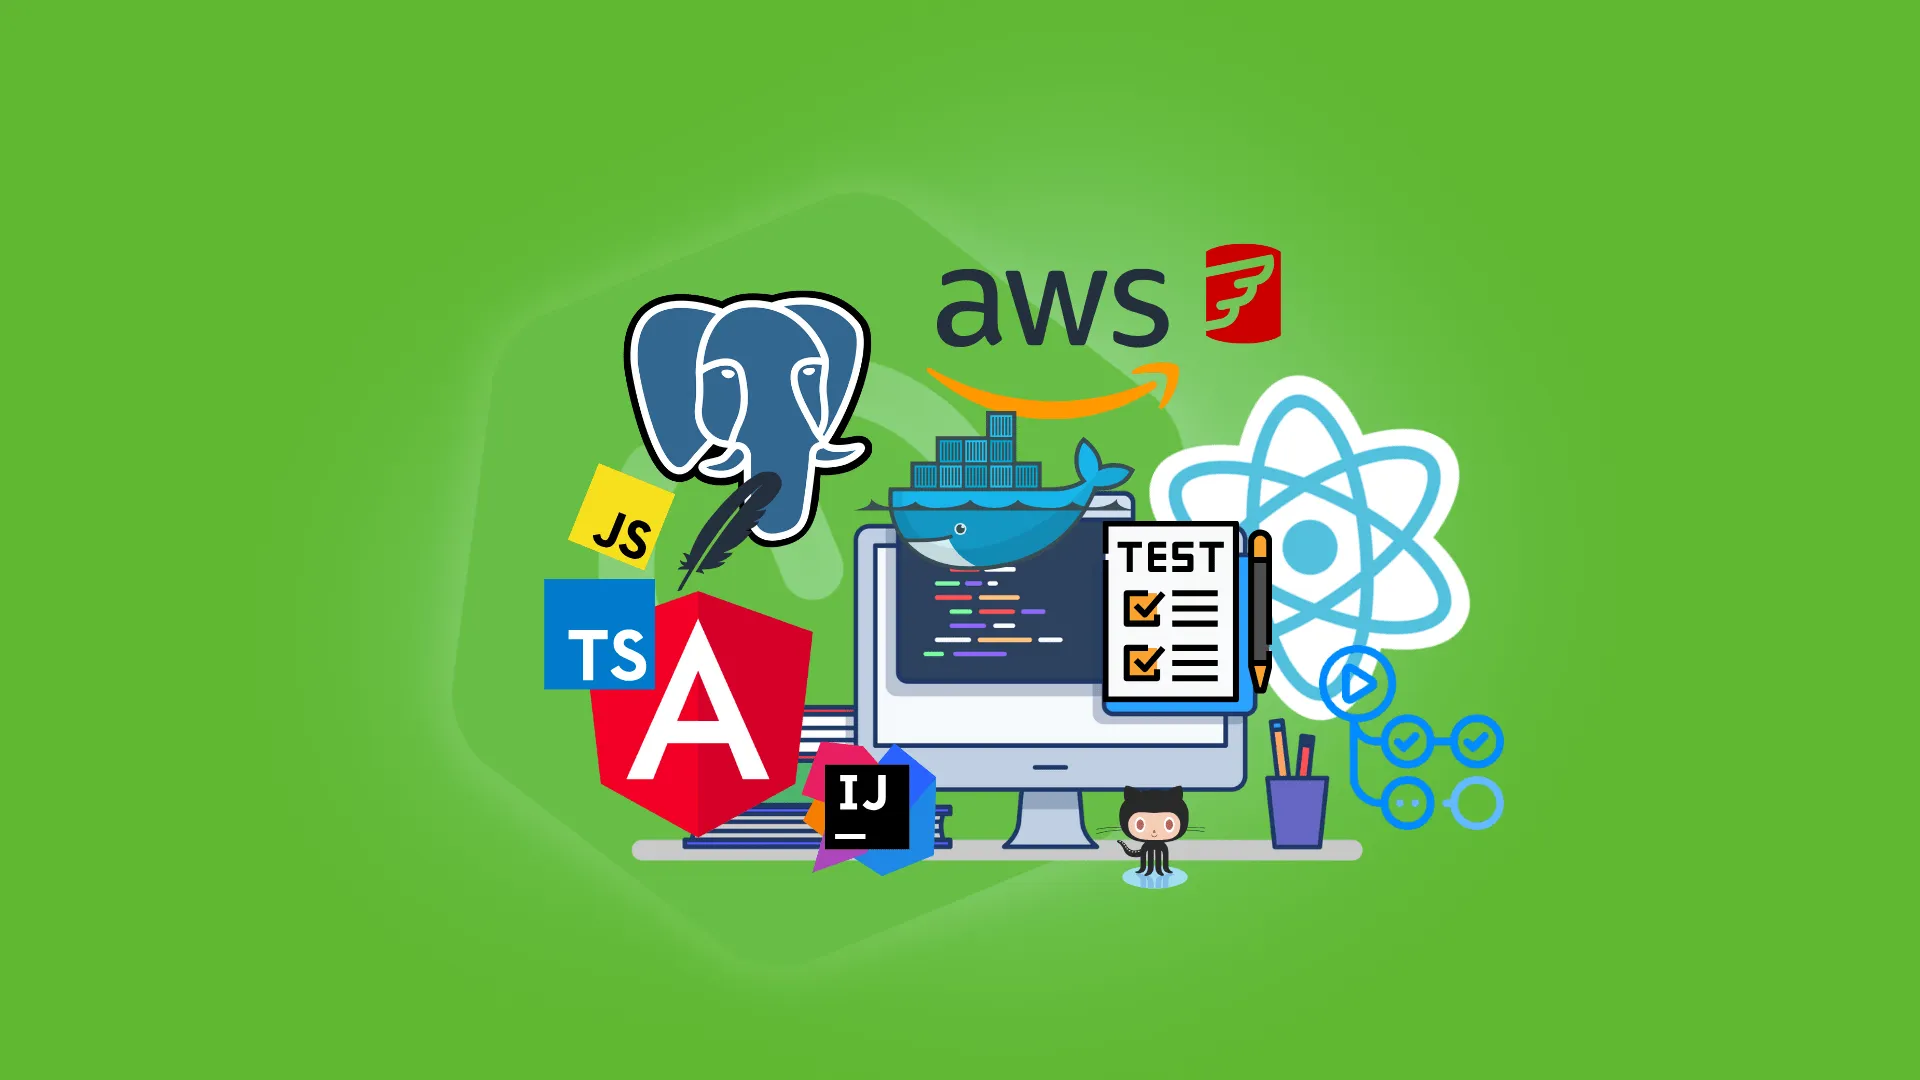
Tech Stack and Tools Used

linux

ubuntu

terminal

bash

git

github

codespaces

intellij

java

spring-boot

spring-data-jpa

flyway

sql

postgres

docker

jib

maven

aws

ec2

vpc

rds

route53

chrome

junit

assertj

mockito

testcontainers

github-actions

slack

nextjs

react

javascript

typescript

vercel

node

vscode

ai

openai

cursor

anthropic

gemini

claude

google-ai-studio

copilot

junie

amazon-s3

cicd

spring

spring-security

n8n

automation

workflow

api

webhooks

terraform

devops
linux
ubuntu
terminal
bash
git
github
codespaces
intellij
java
spring-boot
spring-data-jpa
flyway
sql
postgres
docker
jib
maven
aws
ec2
vpc
rds
route53
chrome
junit
assertj
mockito
testcontainers
github-actions
slack
nextjs
react
javascript
typescript
vercel
node
vscode
ai
openai
cursor
anthropic
gemini
claude
google-ai-studio
copilot
junie
amazon-s3
cicd
spring
spring-security
n8n
automation
workflow
api
webhooks
terraform
devops


The Bundle You've Been Waiting For
Learn Everything You Need To Master Full Stack Professional with AI
Most tutorials and courses teach you bits and pieces. This bundle gives you the complete path, start to finish, so you're never wondering 'what's next?'
Full Stack Professional with AI
Courses (19)
Linux Fundamentals
Learn the fundamentals of Linux and how to use the command line

Master Professional Java & Spring Techniques
Learn the exact Spring Boot patterns, database migration strategies, and API design techniques used by senior engineers at top companies.
Ship Production-Ready Code with Confidence
Master unit testing with Mockito, integration testing with Testcontainers, and CI/CD pipelines that catch bugs before they reach production.
Deploy Like a DevOps Pro
Learn Docker containerization, AWS deployment strategies, and GitHub Actions workflows that automate your entire development pipeline.
Build Modern Full-Stack Applications
Master Next.js frontend development alongside Spring Boot backend APIs to build complete, scalable applications from scratch.
Integrate AI Into Your Applications
Learn AI foundations, agentic programming patterns, and automation techniques that give your apps a competitive edge.
Work Faster with Professional Tools
Master IntelliJ IDEA shortcuts, debugging techniques, and productivity workflows that cut your development time in half.
Start Building Today
Get the Complete Curriculum
Full Stack Professional with AI is ready now. That's 19 complete courses that get you hired or promoted. All courses are included when you purchase this bundle.
Testimonial
Trusted by Industry Experts
Josh Long
Spring Developer Advocate
Amigoscode does a pretty darned good job, and consistently too, covering Spring and for that, I'm very appreciative!
Real Developers, Real Impact
Hear How Amigoscode Helped Our Students Thrive
Enroll Now
You've Spent Months Figuring This Out, Now Let Me Show You How to Build Software Like a Pro
Full Stack Professional with AI
Hands-down the best thing you'll buy this year
Includes 15 Days Money-Back Guarantee
Or get access to everything with a subscription
SubscribeJosh Long
Spring Developer Advocate
"Amigoscode does a pretty darned good job, and consistently too, covering Spring and for that, I'm very appreciative!"
Everything Included
Extra bonuses
Trusted by 100,000+ developers worldwide:


FAQs
Got Questions? We've Got Answers!
See how our students are achieving their goals and excelling in tech
We're Featured on
Discover the platforms, publications, and communities where Amigoscode has been featured


Stop Wasting Time. Start your journey and get hired or promoted.
You've spent months watching tutorials, trying tools, and wasting time with outdated courses. You know enough to be dangerous. What you need now is someone to tell you: Here's the process. Follow this and get hired.