How to Send Emails in Spring Boot (With Templates)
backend
7 min read
How to Send Emails in Spring Boot (With Templates)
Learn how to send plain text, HTML, and templated emails in Spring Boot with Gmail SMTP, Thymeleaf, and attachments - in under 15 minutes.

Published By: Nelson Djalo | Date: April 6, 2026
Sending email from a Spring Boot app sounds simple until you hit your first AuthenticationFailedException at 2am. Wrong port, wrong password, missing app password, blocked by Gmail, broken HTML rendering - the gotchas are everywhere. This post walks you through the working setup, end to end, so you can ship a real email feature today.
Table of Contents
- What you need before starting
- Add the Spring Mail dependency
- Configure Gmail SMTP
- Send your first plain text email
- Send HTML emails with Thymeleaf templates
- Send emails with attachments
- Make it async so you do not block requests
- Where to go from here
- FAQ
- Wrapping up
What you need before starting
You need a Spring Boot project (3.x is fine), Java 17 or higher, and an SMTP account. We will use Gmail because it is free and you probably already have one. If you are building for production, swap it for SendGrid, Mailgun, or Amazon SES later - the Spring code stays the same.
If you are still getting comfortable with Spring Boot itself, the Spring Boot Master Class covers the fundamentals before you start wiring up integrations like email.
Add the Spring Mail dependency
Spring Boot ships a starter that pulls in JavaMail and auto-configures JavaMailSender for you. Add this to your pom.xml.
<dependency>
    <groupId>org.springframework.boot</groupId>
    <artifactId>spring-boot-starter-mail</artifactId>
</dependency>
If you also want HTML templates, add Thymeleaf.
<dependency>
    <groupId>org.springframework.boot</groupId>
    <artifactId>spring-boot-starter-thymeleaf</artifactId>
</dependency>
That is it for dependencies. No XML config, no manual bean wiring. Spring Boot reads your application.properties and gives you a ready-to-use JavaMailSender.
Configure Gmail SMTP
Open application.properties and drop this in. Replace the username and password with your own.
spring.mail.host=smtp.gmail.com
spring.mail.port=587
spring.mail.username=your-email@gmail.com
spring.mail.password=your-app-password
spring.mail.properties.mail.smtp.auth=true
spring.mail.properties.mail.smtp.starttls.enable=true
spring.mail.properties.mail.smtp.starttls.required=true
spring.mail.properties.mail.smtp.connectiontimeout=5000
spring.mail.properties.mail.smtp.timeout=5000
spring.mail.properties.mail.smtp.writetimeout=5000
Two things will trip you up here. First, spring.mail.password is NOT your Gmail account password. Gmail blocks regular passwords for SMTP. You need an app-specific password from your Google account security settings. Second, port 587 with STARTTLS is the right combo for Gmail - port 465 with SSL also works but needs a different property.
Once you have those set, Spring Boot will inject a fully-configured JavaMailSender into any bean that asks for it.
Send your first plain text email
Create a service class. This is the simplest possible email - sender, recipient, subject, body.
@Service
public class EmailService {

    private final JavaMailSender mailSender;

    public EmailService(JavaMailSender mailSender) {
        this.mailSender = mailSender;
    }

    public void sendSimpleEmail(String to, String subject, String body) {
        SimpleMailMessage message = new SimpleMailMessage();
        message.setFrom("your-email@gmail.com");
        message.setTo(to);
        message.setSubject(subject);
        message.setText(body);
        mailSender.send(message);
    }
}
Inject EmailService into a controller and trigger it from an endpoint to test.
@RestController
@RequestMapping("/api/email")
public class EmailController {

    private final EmailService emailService;

    public EmailController(EmailService emailService) {
        this.emailService = emailService;
    }

    @PostMapping("/test")
    public ResponseEntity<String> sendTest(@RequestParam String to) {
        emailService.sendSimpleEmail(to, "Hello from Spring Boot", "It works.");
        return ResponseEntity.ok("Sent");
    }
}
Hit POST /api/email/test?to=you@example.com and check your inbox. If it lands, your SMTP setup is solid and you can move on to the fun stuff.
Send HTML emails with Thymeleaf templates
Plain text is fine for password resets and one-time codes. For everything else - welcome emails, invoices, marketing - you want HTML. Spring Boot integrates with Thymeleaf so you can write your email like a normal HTML template and pass in variables.
Create a template at src/main/resources/templates/welcome-email.html.
<!DOCTYPE html>
<html xmlns:th="http://www.thymeleaf.org">
<head>
    <meta charset="UTF-8">
    <title>Welcome</title>
</head>
<body style="font-family: Arial, sans-serif;">
    <h1 th:text="'Welcome, ' + ${name} + '!'">Welcome</h1>
    <p>Thanks for signing up. Here is your dashboard link:</p>
    <a th:href="${dashboardUrl}">Go to dashboard</a>
    <p>Cheers,<br>The team</p>
</body>
</html>
Now update your service to render the template and send it as HTML using MimeMessageHelper.
@Service
public class EmailService {

    private final JavaMailSender mailSender;
    private final SpringTemplateEngine templateEngine;

    public EmailService(JavaMailSender mailSender, SpringTemplateEngine templateEngine) {
        this.mailSender = mailSender;
        this.templateEngine = templateEngine;
    }

    public void sendWelcomeEmail(String to, String name, String dashboardUrl) throws MessagingException {
        Context context = new Context();
        context.setVariable("name", name);
        context.setVariable("dashboardUrl", dashboardUrl);

        String htmlContent = templateEngine.process("welcome-email", context);

        MimeMessage mimeMessage = mailSender.createMimeMessage();
        MimeMessageHelper helper = new MimeMessageHelper(mimeMessage, true, "UTF-8");
        helper.setFrom("your-email@gmail.com");
        helper.setTo(to);
        helper.setSubject("Welcome to the platform");
        helper.setText(htmlContent, true);

        mailSender.send(mimeMessage);
    }
}
The true flag in setText tells the helper this is HTML, not plain text. The true in the MimeMessageHelper constructor enables multipart mode, which you need for attachments and inline images.
Send emails with attachments
Need to attach a PDF invoice or a CSV report? MimeMessageHelper makes it painless. Add this method to your service.
public void sendEmailWithAttachment(String to, String subject, String body, File attachment) throws MessagingException {
    MimeMessage mimeMessage = mailSender.createMimeMessage();
    MimeMessageHelper helper = new MimeMessageHelper(mimeMessage, true, "UTF-8");

    helper.setFrom("your-email@gmail.com");
    helper.setTo(to);
    helper.setSubject(subject);
    helper.setText(body, true);

    FileSystemResource file = new FileSystemResource(attachment);
    helper.addAttachment(file.getFilename(), file);

    mailSender.send(mimeMessage);
}
You can call addAttachment multiple times for multiple files. For inline images (like a logo embedded in the email body), use helper.addInline("logo", imageFile) and reference it in your template with <img src="cid:logo">.
Make it async so you do not block requests
Sending an email through SMTP can take 1 - 3 seconds. If you do it inside an HTTP request handler, the user is staring at a spinner the whole time. Mark your method @Async so it runs on a background thread.
First enable async support in any @Configuration class.
@Configuration
@EnableAsync
public class AsyncConfig {
}
Then annotate the email method.
@Async
public void sendWelcomeEmail(String to, String name, String dashboardUrl) throws MessagingException {
    // same code as before
}
Now your controller returns instantly and the email fires off in the background. For production, define a custom TaskExecutor so you can control the thread pool size and rejection policy.
Where to go from here
You now have a working email system - plain text, HTML templates, attachments, and async sending. The patterns scale to transactional providers like SendGrid by just changing the SMTP host and port. The Spring code does not change.
If you want to plug this into a real REST API with auth, validation, and database integration, the Building APIs with Spring Boot course walks you through the full stack. For a wider view of where email fits into a Spring Boot project, check the Spring Boot Roadmap.
FAQ
Why do I need a Gmail app password instead of my regular password?
Google blocks "less secure apps" by default, which includes any SMTP client using your normal password. To send from Gmail you need to enable 2-factor auth on your account, then generate an app password from Google account settings. Use that 16-character password in spring.mail.password.
Should I use SendGrid or Mailgun instead of Gmail? For production, yes. Gmail has strict daily sending limits (around 500 per day for free accounts) and your messages are more likely to land in spam. SendGrid, Mailgun, Amazon SES, and Postmark are built for transactional email and give you better deliverability, analytics, and webhooks. The Spring Boot code stays the same - just update the SMTP host, port, and credentials.
How do I send emails asynchronously in Spring Boot?
Annotate your email method with @Async and add @EnableAsync to a @Configuration class. Spring will run the method on a background thread so your HTTP request returns immediately. For production, define a custom ThreadPoolTaskExecutor so you control the pool size and queue behavior.
How do I handle email sending errors?
Wrap your mailSender.send(...) call in a try/catch for MailException (the parent of all Spring mail exceptions). Log the failure, optionally retry with @Retryable from Spring Retry, and consider pushing failed sends to a queue or database table so you can replay them later. Never let an email failure crash your main business logic.
What are the rate limits I should worry about? Gmail caps free accounts at around 500 emails per day. Google Workspace allows 2,000 per day. Transactional providers like SendGrid start at 100 per day on free tiers and scale into the millions on paid plans. Always check your provider's documentation, and implement rate limiting in your app if you have user-triggered email actions to prevent abuse.
Wrapping up
Spring Boot makes email genuinely easy once you get past the Gmail app-password gotcha. Start with JavaMailSender, add Thymeleaf templates when you need HTML, and switch to a real provider when you go to production.
Want to build production REST APIs with email, auth, and database integration baked in? Jump into Building APIs with Spring Boot and ship your next backend with confidence.
Related Articles
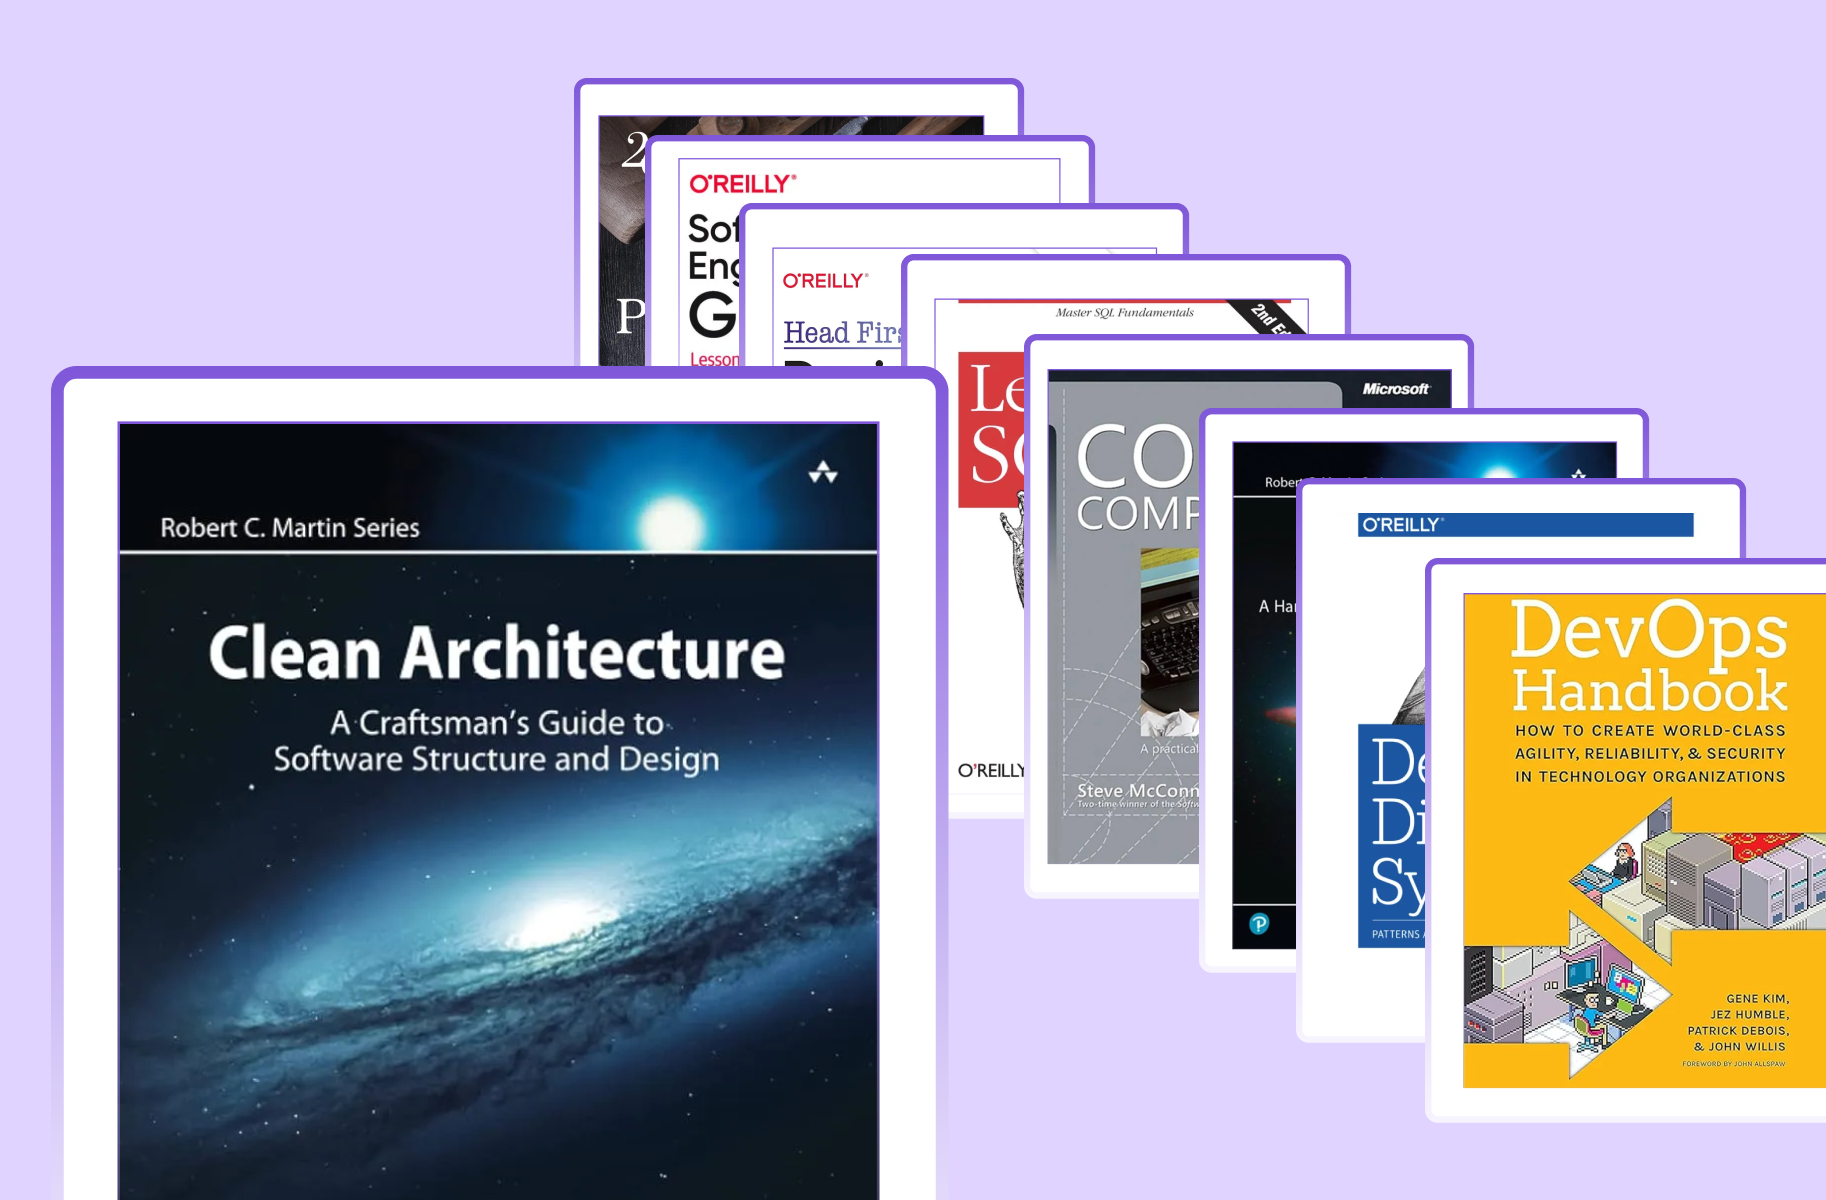
9 Books That Made Me a Better Software Engineer (Not the Usual List)
Skip the generic recommendations. These 9 books changed how I write code, lead teams, and think about systems - from Clean Code to books most devs haven't heard of.

How to Become a Java Full Stack Developer in 2025 (Step-by-Step)
The exact skills, tools, and learning order to go from zero to hired as a Java full stack developer. Covers Spring Boot, React, databases, Docker, and what employers actually look for.
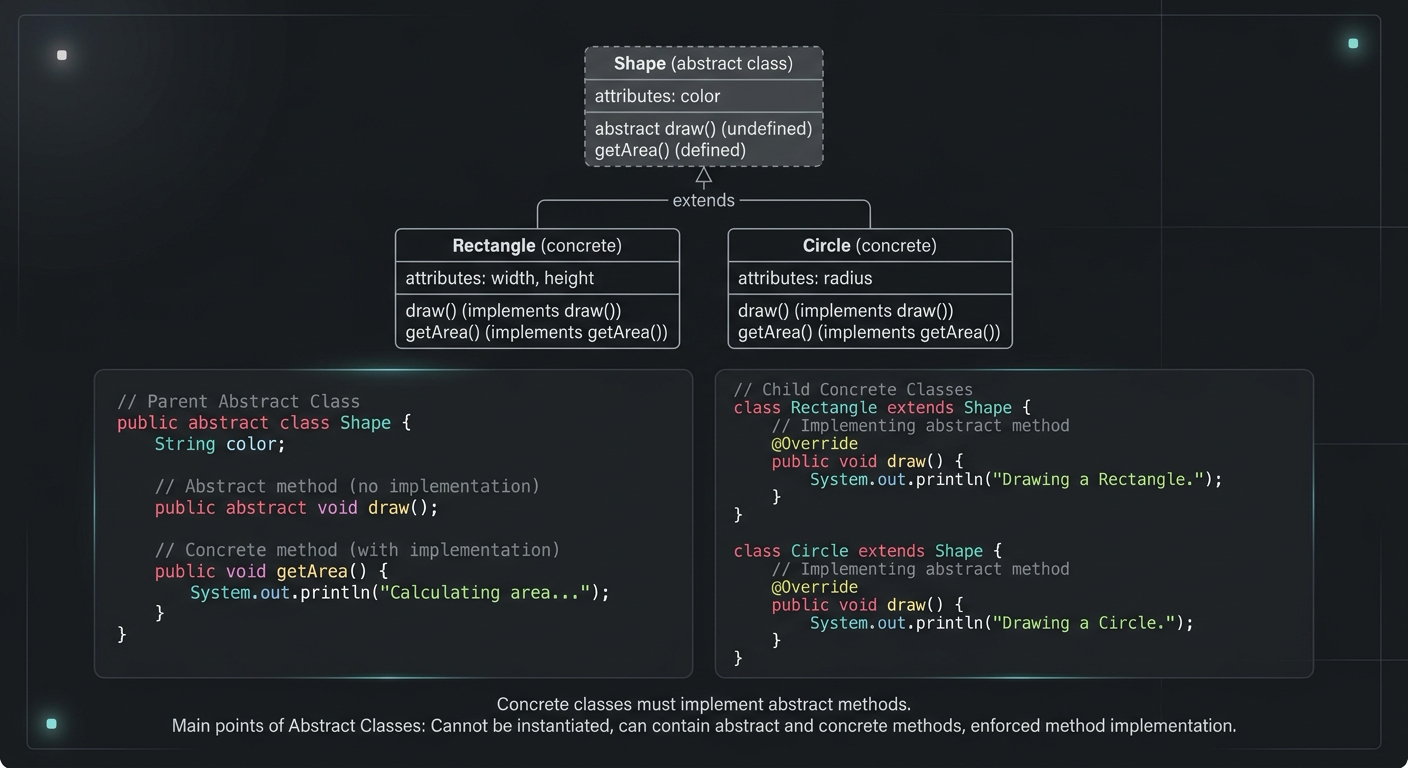
Abstract Class in Java (With Real-World Examples)
Abstract classes in Java are one of the most misunderstood OOP concepts. Here's a practical guide with real-world examples, code you can actually use, and the mistakes most devs make.
Your Career Transformation Starts Now
Join thousands of developers mastering in-demand skills with Amigoscode. Try it free today.