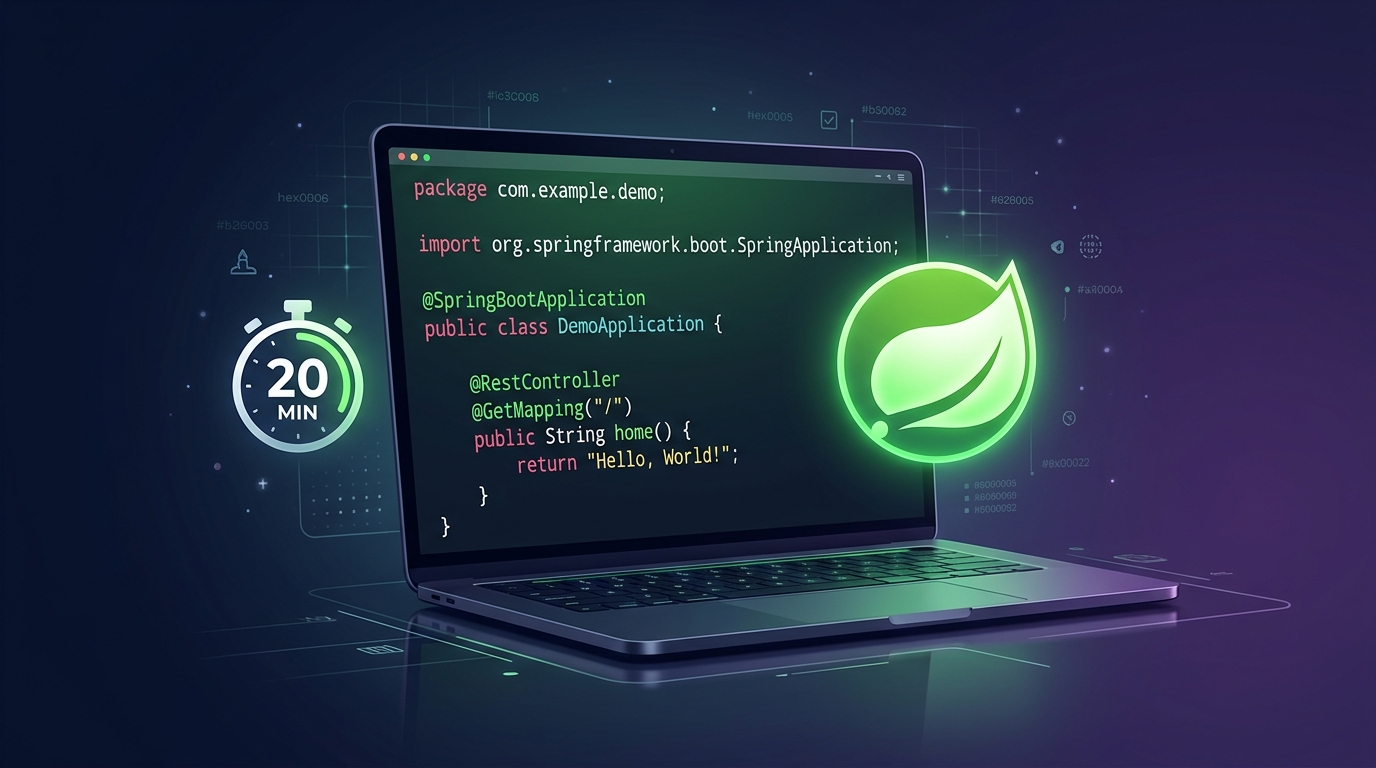
Spring Boot Tutorial: Build Your First App in 20 Minutes (2026 Guide)
backend
8 min read
Spring Boot Tutorial: Build Your First App in 20 Minutes (2026 Guide)
A hands-on Spring Boot tutorial that takes you from empty folder to running REST API in 20 minutes. No prior Spring experience needed - just Java basics and an IDE.
Published By: Nelson Djalo | Date: March 14, 2026
Introduction
You know Java. You can write classes, handle exceptions, and work with collections. Now you want to build something real - a REST API that actually runs, accepts requests, and talks to a database.
That's exactly what this Spring Boot tutorial covers. In about 20 minutes, you'll go from an empty folder to a working API with endpoints you can hit from your browser or Postman. No XML. No complicated setup. Just code that works.
If your Java is rusty, brush up with Java for Beginners first. Otherwise, let's get into it.
Table of Contents
- What Is Spring Boot?
- Setting Up Your Project with Spring Initializr
- Creating Your First REST Controller
- Connecting to a Database
- Running and Testing Your App
- What to Learn Next
- FAQ
- Conclusion
What Is Spring Boot?
Spring Boot is a framework that sits on top of the Spring Framework and removes almost all the boilerplate. Instead of wiring together dozens of XML files and manually configuring a servlet container, you get an opinionated setup that works out of the box.
Here's what Spring Boot gives you:
- Auto-configuration - it detects what's on your classpath and configures things automatically
- Embedded server - Tomcat ships inside your JAR, no external server needed
- Starter dependencies - one dependency pulls in everything you need for a feature (web, data, security)
- Production-ready defaults - health checks, metrics, and externalized config built in
The result: you write business logic instead of plumbing code.
Spring Boot is not a different framework from Spring. It's Spring with the setup done for you. When you need to customize something, the full Spring Framework is right there underneath.
For a broader look at the ecosystem and what to learn in what order, check out the Spring Boot Roadmap.
Setting Up Your Project with Spring Initializr
The fastest way to bootstrap a Spring Boot project is Spring Initializr. Open it in your browser and configure:
- Project: Maven
- Language: Java
- Spring Boot: 3.4.x (latest stable)
- Group: com.example
- Artifact: demo
- Packaging: Jar
- Java: 21
Add these dependencies:
- Spring Web - for building REST endpoints
- Spring Data JPA - for database access
- H2 Database - an in-memory database for quick prototyping
Click Generate, download the zip, and extract it. Open the project in IntelliJ IDEA, VS Code, or whatever IDE you prefer.
Your project structure looks like this:
demo/
├── src/
│   ├── main/
│   │   ├── java/com/example/demo/
│   │   │   └── DemoApplication.java
│   │   └── resources/
│   │       └── application.properties
│   └── test/
├── pom.xml
The DemoApplication.java file already has everything needed to start:
package com.example.demo;

import org.springframework.boot.SpringApplication;
import org.springframework.boot.autoconfigure.SpringBootApplication;

@SpringBootApplication
public class DemoApplication {
    public static void main(String[] args) {
        SpringApplication.run(DemoApplication.class, args);
    }
}
That single @SpringBootApplication annotation triggers component scanning, auto-configuration, and property support. One annotation does what used to take pages of XML.
Creating Your First REST Controller
Let's build something you can actually see. Create a new file StudentController.java:
package com.example.demo;

import org.springframework.web.bind.annotation.*;
import java.util.List;
import java.util.ArrayList;

@RestController
@RequestMapping("/api/students")
public class StudentController {

    private final List<String> students = new ArrayList<>(
        List.of("Alice", "Bob", "Charlie")
    );

    @GetMapping
    public List<String> getStudents() {
        return students;
    }

    @GetMapping("/{index}")
    public String getStudent(@PathVariable int index) {
        return students.get(index);
    }

    @PostMapping
    public String addStudent(@RequestBody String name) {
        students.add(name);
        return "Added: " + name;
    }
}
What's happening here:
@RestControllertells Spring this class handles HTTP requests and returns data directly (not a view)@RequestMapping("/api/students")sets the base URL for all endpoints in this controller@GetMapping,@PostMappingmap methods to HTTP verbs@PathVariablepulls values from the URL path@RequestBodydeserializes the request body into a Java object
Run the app with:
./mvnw spring-boot:runHit http://localhost:8080/api/students in your browser. You'll see ["Alice","Bob","Charlie"]. That's your first Spring Boot API endpoint, live and returning JSON.
Connecting to a Database
A list in memory is fine for testing, but real apps need a database. Let's swap in JPA with H2.
Define an Entity
Create Student.java:
package com.example.demo;

import jakarta.persistence.*;

@Entity
@Table(name = "students")
public class Student {

    @Id
    @GeneratedValue(strategy = GenerationType.IDENTITY)
    private Long id;

    @Column(nullable = false)
    private String name;

    @Column(nullable = false)
    private String email;

    public Student() {}

    public Student(String name, String email) {
        this.name = name;
        this.email = email;
    }

    public Long getId() { return id; }
    public void setId(Long id) { this.id = id; }
    public String getName() { return name; }
    public void setName(String name) { this.name = name; }
    public String getEmail() { return email; }
    public void setEmail(String email) { this.email = email; }
}
@Entity marks this as a JPA entity. @Id and @GeneratedValue handle the primary key. Spring Data does the rest.
Create a Repository
Create StudentRepository.java:
package com.example.demo;

import org.springframework.data.jpa.repository.JpaRepository;

public interface StudentRepository extends JpaRepository<Student, Long> {
}
That's the entire file. By extending JpaRepository, you get findAll(), findById(), save(), deleteById(), and more - without writing a single SQL query.
Update the Controller
Now rewrite the controller to use the repository:
package com.example.demo;

import org.springframework.web.bind.annotation.*;
import java.util.List;

@RestController
@RequestMapping("/api/students")
public class StudentController {

    private final StudentRepository repository;

    public StudentController(StudentRepository repository) {
        this.repository = repository;
    }

    @GetMapping
    public List<Student> getAllStudents() {
        return repository.findAll();
    }

    @GetMapping("/{id}")
    public Student getStudent(@PathVariable Long id) {
        return repository.findById(id)
            .orElseThrow(() -> new RuntimeException("Student not found"));
    }

    @PostMapping
    public Student createStudent(@RequestBody Student student) {
        return repository.save(student);
    }

    @DeleteMapping("/{id}")
    public void deleteStudent(@PathVariable Long id) {
        repository.deleteById(id);
    }
}
Constructor injection wires the repository in automatically - no @Autowired annotation needed when there's a single constructor.
Configure H2
Add this to application.properties:
spring.datasource.url=jdbc:h2:mem:testdb
spring.datasource.driver-class-name=org.h2.Driver
spring.jpa.hibernate.ddl-auto=create-drop
spring.h2-console.enabled=true
Restart the app. The H2 console is available at http://localhost:8080/h2-console (connect with JDBC URL jdbc:h2:mem:testdb).
Test the POST endpoint with curl:
curl -X POST http://localhost:8080/api/students \
  -H "Content-Type: application/json" \
  -d '{"name": "Nelson", "email": "nelson@example.com"}'
Then hit GET at http://localhost:8080/api/students and you'll see your student stored and returned with an auto-generated ID.
Switching to PostgreSQL
When you're ready for a real database, swap the H2 dependency for PostgreSQL in your pom.xml:
<dependency>
    <groupId>org.postgresql</groupId>
    <artifactId>postgresql</artifactId>
    <scope>runtime</scope>
</dependency>
And update application.properties:
spring.datasource.url=jdbc:postgresql://localhost:5432/studentdb
spring.datasource.username=postgres
spring.datasource.password=your_password
spring.jpa.hibernate.ddl-auto=update
No code changes needed. The controller and repository work exactly the same way.
Running and Testing Your App
You've already used ./mvnw spring-boot:run. Here are the other ways to run it:
From your IDE: Right-click DemoApplication.java and hit Run. This is the fastest option during development.
As a JAR:
./mvnw clean package
java -jar target/demo-0.0.1-SNAPSHOT.jar
This produces a self-contained JAR with Tomcat embedded. Deploy it anywhere Java runs.
Quick test checklist:
| Method | URL | Expected |
|---|---|---|
| GET | /api/students | All students as JSON array |
| GET | /api/students/1 | Single student by ID |
| POST | /api/students | Creates and returns new student |
| DELETE | /api/students/1 | Removes student, returns 200 |
What to Learn Next
You've got the basics down: project setup, REST controllers, database access. Here's where to go from here:
- Validation - add
@Validand bean validation annotations to reject bad input - Error handling - use
@ControllerAdvicefor global exception handling - Security - Spring Security for authentication and authorization
- Testing -
@SpringBootTestandMockMvcfor integration tests - Docker - containerize your app for deployment
For a deep dive into building production-grade APIs with proper error handling, pagination, and security, check out Building APIs with Spring Boot. And if you want the full picture - from basics through microservices and deployment - the Spring Boot Master Class covers everything.
FAQ
Do I need to know the Spring Framework before learning Spring Boot?
No. Spring Boot was designed so you can start building without understanding the internals of the Spring Framework first. As your apps get more complex, you'll naturally pick up Spring concepts like dependency injection, AOP, and bean lifecycle. Start with Boot, learn Spring as you need it.
What Java version should I use with Spring Boot in 2026?
Java 21 is the current LTS release and the best choice for new Spring Boot projects. Spring Boot 3.x requires Java 17 at minimum, but 21 gives you virtual threads, pattern matching, and record patterns out of the box.
Can I use Spring Boot for microservices?
Yes - it's one of the most popular choices for building microservices in Java. Spring Boot's small footprint, embedded server, and easy configuration make it a natural fit. Add Spring Cloud for service discovery, circuit breakers, and distributed config when you need them.
What is the difference between Spring Boot and Jakarta EE?
Spring Boot and Jakarta EE (formerly Java EE) both let you build enterprise Java applications. Jakarta EE is a specification - you need an application server like WildFly or Open Liberty to run it. Spring Boot is a framework with an embedded server, so your app runs as a standalone JAR. In practice, Spring Boot has a larger community, faster release cycles, and more third-party integrations.
Is Spring Boot good for beginners?
Yes. The auto-configuration and starter dependencies mean you spend time writing features instead of fighting configuration. The error messages are clear, the documentation is excellent, and there's a massive community for help. If you know Java basics, you can be productive with Spring Boot in a day.
Conclusion
You just went from an empty folder to a REST API backed by a database. That's Spring Boot - minimal config, fast feedback, production-ready defaults. The next step is building something real with it. Start with the Spring Boot Master Class and go from tutorial code to production-grade applications.
Related Articles
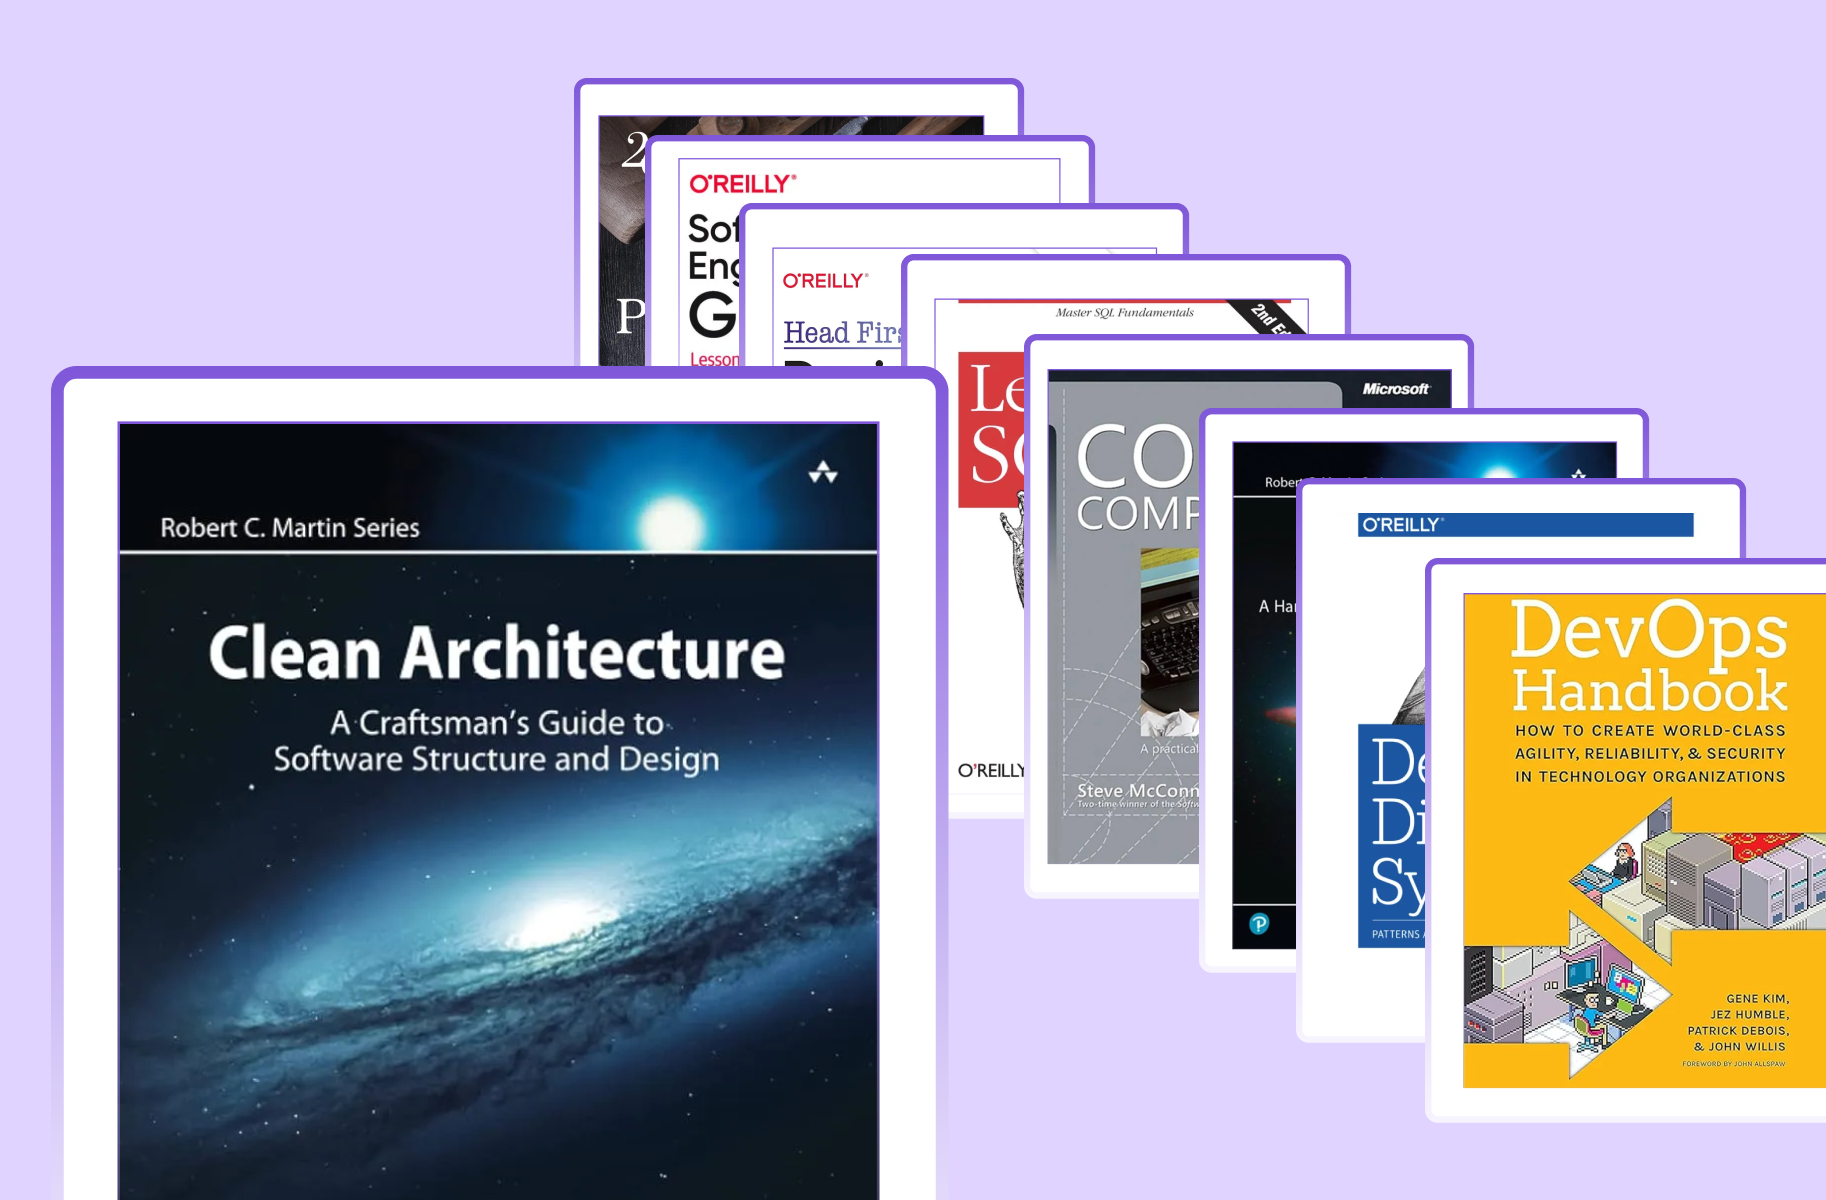
9 Books That Made Me a Better Software Engineer (Not the Usual List)
Skip the generic recommendations. These 9 books changed how I write code, lead teams, and think about systems - from Clean Code to books most devs haven't heard of.
How to Become a Java Full Stack Developer in 2025 (Step-by-Step)
The exact skills, tools, and learning order to go from zero to hired as a Java full stack developer. Covers Spring Boot, React, databases, Docker, and what employers actually look for.
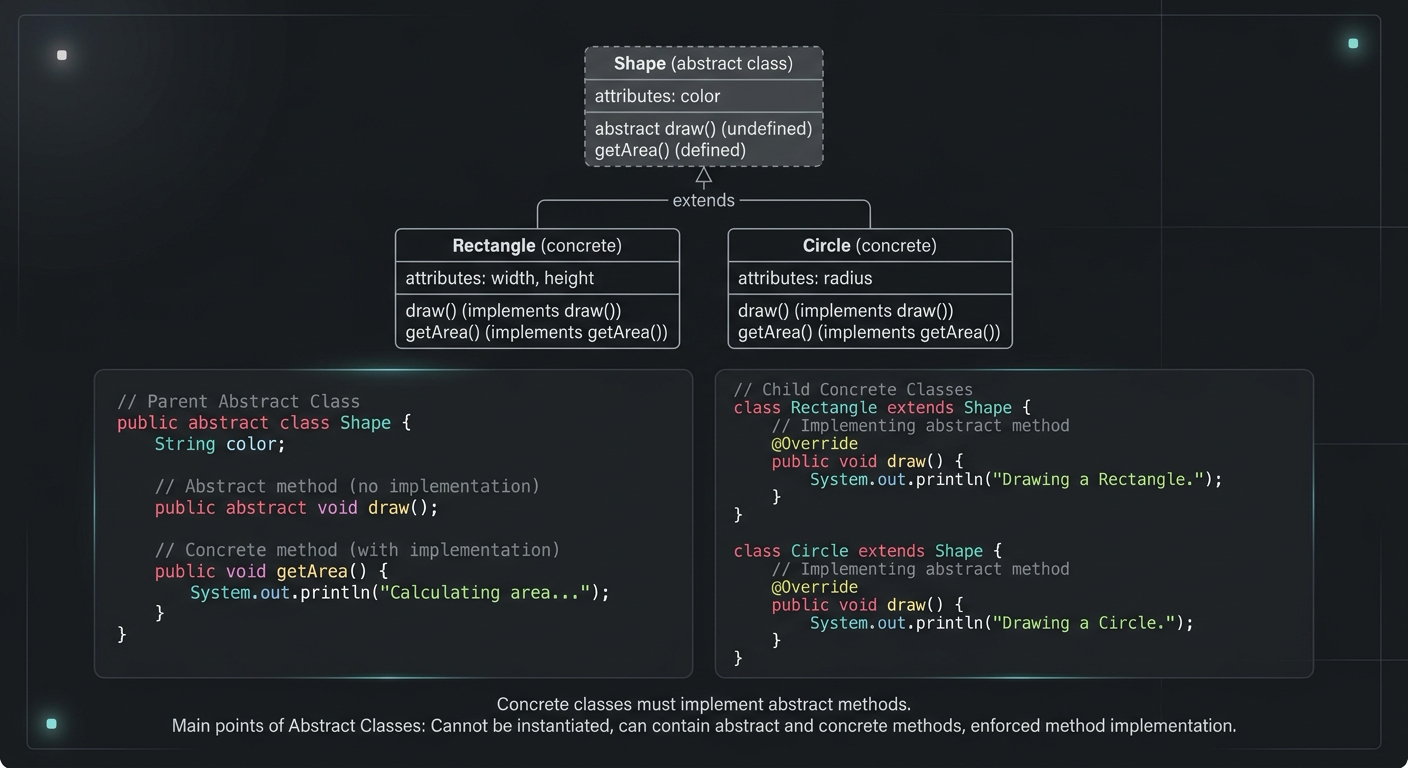
Abstract Class in Java (With Real-World Examples)
Abstract classes in Java are one of the most misunderstood OOP concepts. Here's a practical guide with real-world examples, code you can actually use, and the mistakes most devs make.
Your Career Transformation Starts Now
Join thousands of developers mastering in-demand skills with Amigoscode. Try it free today.