Spring Boot + Docker: Containerize Your App in 10 Minutes
backend
7 min read
Spring Boot + Docker: Containerize Your App in 10 Minutes
Stop saying 'it works on my machine'. Here's how to containerize a Spring Boot app with Docker in 10 minutes - including a multi-stage build and a PostgreSQL setup that actually works in production.
Published By: Nelson Djalo | Date: April 6, 2026
If your Spring Boot app only runs on your laptop, you don't have an app - you have a hobby project. The fix takes about 10 minutes, and by the end of this post you'll have a containerized Spring Boot service running on PostgreSQL that you can ship anywhere Docker runs.
We'll go from zero to a working Dockerfile, then upgrade it to a multi-stage build, then wire it into a docker-compose.yml with a real database. No fluff.
Table of Contents
- Why Bother Containerizing Spring Boot?
- What You Need Before Starting
- Step 1 - Build Your Spring Boot JAR
- Step 2 - Write Your First Dockerfile
- Step 3 - Upgrade to a Multi-Stage Build
- Step 4 - Add PostgreSQL with docker-compose
- Common Gotchas
- Where to Go Next
- FAQ
- Wrapping Up
Why Bother Containerizing Spring Boot?
Spring Boot already produces a fat JAR you can run with java -jar. So why add Docker on top?
Because the JAR is only half the story. Production needs a JDK version, environment variables, a database connection, network ports, and the same OS-level dependencies every single time. Docker bundles all of that into a single artifact that runs identically on your laptop, your CI runner, and your AWS cluster. It also makes Kubernetes, ECS, and Cloud Run trivial to target later.
If you've never touched containers before, the Docker for Java Developers course walks through the full mental model from images to volumes to networks. This post is the speed-run version.
What You Need Before Starting
- JDK 21 (or 17 - both work fine)
- A Spring Boot project (Spring Initializr is fine - pick Web + JPA + PostgreSQL)
- Docker Desktop installed and running
- About 10 minutes
Test that Docker is alive with:
docker --version
docker run hello-world
If both commands work, you're ready.
Step 1 - Build Your Spring Boot JAR
Inside your project root, run:
./mvnw clean package -DskipTestsThis drops a runnable JAR in target/ - something like target/myapp-0.0.1-SNAPSHOT.jar. If you're on Gradle, it's ./gradlew bootJar and the artifact lands in build/libs/.
Verify it runs locally:
java -jar target/myapp-0.0.1-SNAPSHOT.jarHit http://localhost:8080 and confirm it boots. If it doesn't run on bare metal, it won't run in Docker either.
Step 2 - Write Your First Dockerfile
Create a file called Dockerfile in the project root (no extension):
FROM eclipse-temurin:21-jre-alpine

WORKDIR /app

COPY target/*.jar app.jar

EXPOSE 8080

ENTRYPOINT ["java", "-jar", "app.jar"]
Five lines. That's the whole thing. Here's what each does:
FROM- the base image. We're using Eclipse Temurin (the official OpenJDK distribution) on Alpine Linux for a small footprint.WORKDIR- sets the working directory inside the container.COPY- pulls the JAR from your localtarget/folder into the image.EXPOSE- documents that the app listens on port 8080.ENTRYPOINT- the command that runs when the container starts.
Build it:
docker build -t myapp:latest .Run it:
docker run -p 8080:8080 myapp:latestOpen http://localhost:8080. Your Spring Boot app is now in a container. You shipped it.
Step 3 - Upgrade to a Multi-Stage Build
The Dockerfile above has a problem - it depends on you running mvn package first. That breaks CI/CD and forces every developer to have Maven installed locally. The fix is a multi-stage build that compiles the JAR inside Docker itself.
# ---- Build stage ----
FROM maven:3.9-eclipse-temurin-21 AS build

WORKDIR /app

COPY pom.xml .
RUN mvn dependency:go-offline -B

COPY src ./src
RUN mvn clean package -DskipTests

# ---- Runtime stage ----
FROM eclipse-temurin:21-jre-alpine

WORKDIR /app

COPY --from=build /app/target/*.jar app.jar

EXPOSE 8080

ENTRYPOINT ["java", "-jar", "app.jar"]
Two stages, one final image. The build stage has Maven and the full JDK and does the heavy lifting. The runtime stage only contains the JRE plus your JAR - nothing else. Final image size drops from around 500MB to around 200MB.
Notice the dependency:go-offline trick. By copying pom.xml first and downloading dependencies before copying source, Docker caches the dependency layer. As long as your pom.xml doesn't change, rebuilds are dramatically faster.
Build and run the same way:
docker build -t myapp:latest .
docker run -p 8080:8080 myapp:latest
Step 4 - Add PostgreSQL with docker-compose
A real Spring Boot app needs a database. Hardcoding a connection string to localhost:5432 won't work inside a container - localhost there means the container itself, not your host machine. Docker Compose solves this by spinning up multiple services on a shared network.
Create docker-compose.yml next to your Dockerfile:
services:
  postgres:
    image: postgres:16-alpine
    container_name: myapp-db
    environment:
      POSTGRES_USER: amigoscode
      POSTGRES_PASSWORD: password
      POSTGRES_DB: myappdb
    ports:
      - "5432:5432"
    volumes:
      - postgres_data:/var/lib/postgresql/data
    healthcheck:
      test: ["CMD-SHELL", "pg_isready -U amigoscode -d myappdb"]
      interval: 5s
      timeout: 5s
      retries: 5

  app:
    build: .
    container_name: myapp-api
    depends_on:
      postgres:
        condition: service_healthy
    environment:
      SPRING_DATASOURCE_URL: jdbc:postgresql://postgres:5432/myappdb
      SPRING_DATASOURCE_USERNAME: amigoscode
      SPRING_DATASOURCE_PASSWORD: password
      SPRING_JPA_HIBERNATE_DDL_AUTO: update
    ports:
      - "8080:8080"

volumes:
  postgres_data:
The key detail - inside the Compose network, services reach each other by name. Your Spring Boot app connects to postgres:5432, not localhost:5432. The depends_on with service_healthy makes Spring Boot wait until Postgres is actually ready to accept connections - no more boot-order race conditions.
Bring it all up with one command:
docker compose up --buildTear it down with:
docker compose downAdd -v to also wipe the database volume:
docker compose down -vCommon Gotchas
A few things that bite people on day one:
Connection refused to localhost - already covered, use the service name from docker-compose.yml, not localhost.
Out of memory inside the container - the JVM doesn't always read container memory limits correctly on older JDKs. JDK 17+ handles this fine, but if you're on JDK 11 add -XX:+UseContainerSupport to your ENTRYPOINT.
Slow rebuilds - if every code change triggers a 3-minute Maven download, you forgot the dependency:go-offline trick from Step 3.
Port already in use - something else is on 8080 or 5432. Either kill it or change the host-side port mapping (e.g. "8081:8080").
Where to Go Next
You now have a containerized Spring Boot app talking to a real database. From here the natural next steps are pushing your image to Docker Hub or AWS ECR, deploying to Kubernetes or ECS, and adding CI/CD so every push builds a fresh image.
If you want a structured path through all of that, the Docker for Java Developers course covers it end to end. For deepening your Spring Boot skills, the Spring Boot Master Class is the obvious next stop. And if you're mapping out the bigger picture, check the Spring Boot Roadmap and the Backend Roadmap.
FAQ
Do I need Docker Desktop, or is the Docker CLI enough?
The CLI plus a daemon is enough. Docker Desktop is the easiest path on macOS and Windows. On Linux you can install the Docker engine directly and skip Desktop entirely.
Should I use JDK or JRE in the runtime image?
JRE. You only need the JDK to compile - and we already do that in the build stage. The JRE image is smaller and has a smaller attack surface.
Why Alpine instead of regular Ubuntu/Debian images?
Alpine images are tiny (around 5MB base vs 70MB+ for Debian). For most Spring Boot apps it works perfectly. If you hit weird native library issues - certain crypto or image-processing libraries - swap to eclipse-temurin:21-jre (which uses Ubuntu) and move on.
How do I pass environment variables in production without hardcoding them?
Use a .env file with Compose, or your orchestrator's secrets system (Kubernetes Secrets, AWS Parameter Store, Doppler, etc.). Never bake passwords into the image - anyone with the image can extract them.
Is docker-compose the same as docker compose?
Almost. docker-compose (with hyphen) is the old Python v1 tool. docker compose (with a space) is the new Go-based plugin baked into modern Docker. Use the new one - same YAML, faster, actively maintained.
Wrapping Up
Containerizing Spring Boot is one of the highest-leverage skills you can pick up as a backend dev - it unlocks every modern deployment target out there. You now have a working Dockerfile, a multi-stage build, and a Compose setup with PostgreSQL.
Ready to go deeper? Jump into Docker for Java Developers and learn how to ship production-grade containers with confidence.
Related Articles
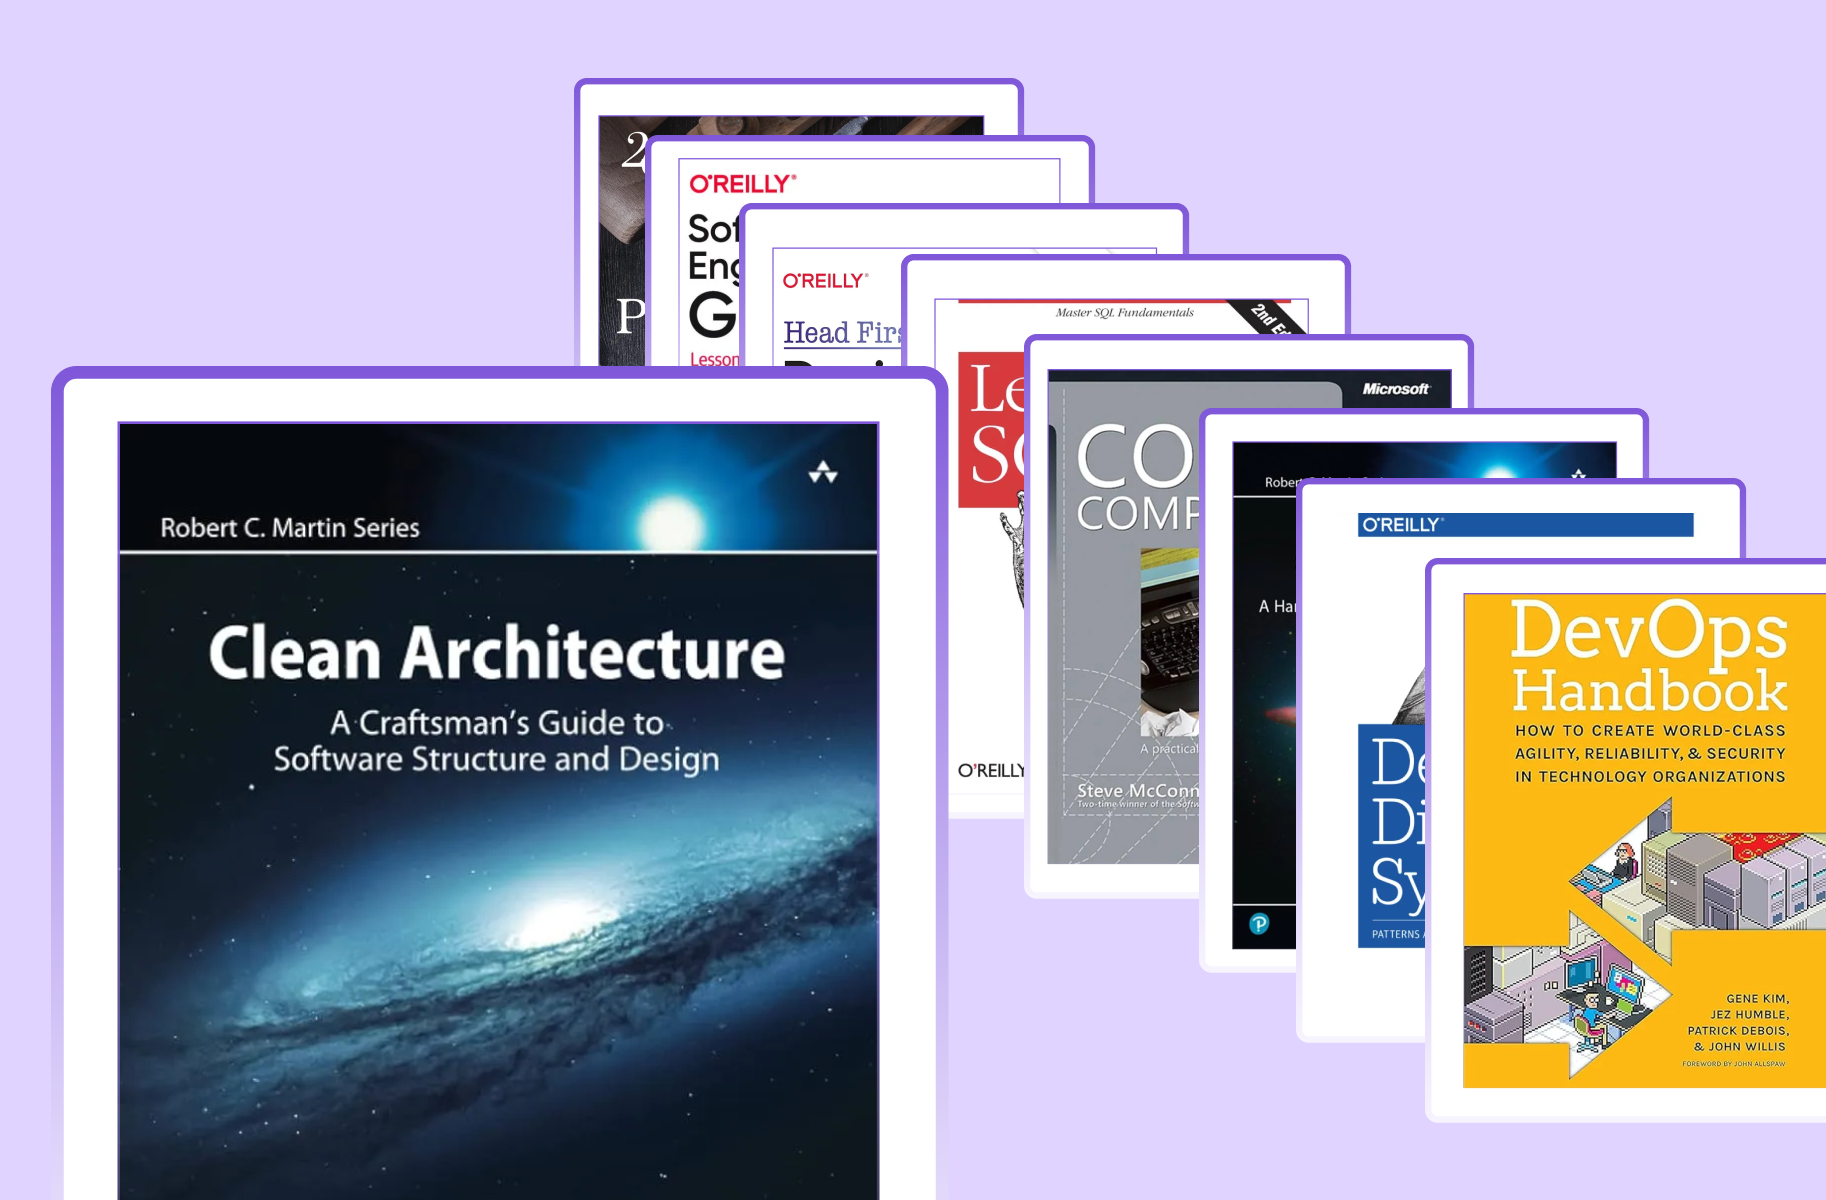
9 Books That Made Me a Better Software Engineer (Not the Usual List)
Skip the generic recommendations. These 9 books changed how I write code, lead teams, and think about systems - from Clean Code to books most devs haven't heard of.

How to Become a Java Full Stack Developer in 2025 (Step-by-Step)
The exact skills, tools, and learning order to go from zero to hired as a Java full stack developer. Covers Spring Boot, React, databases, Docker, and what employers actually look for.
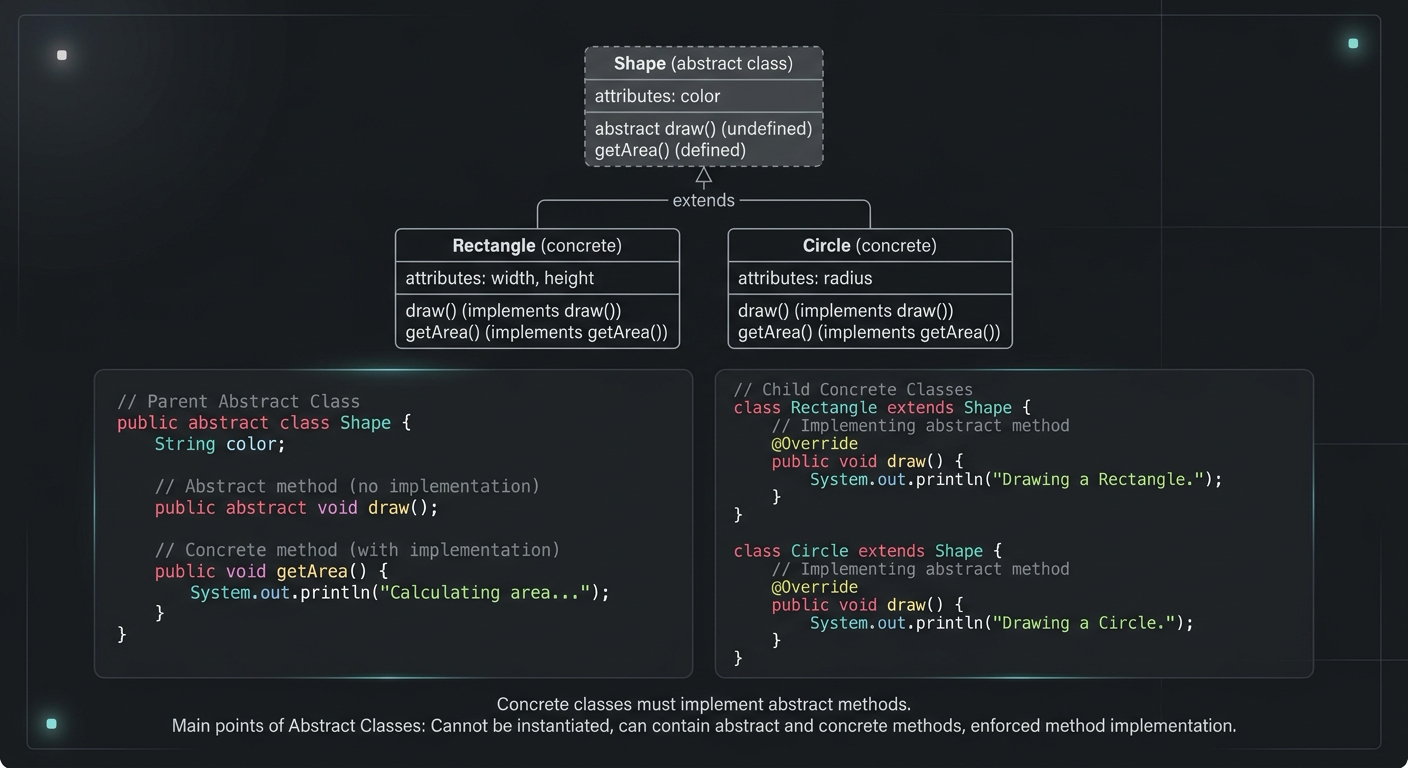
Abstract Class in Java (With Real-World Examples)
Abstract classes in Java are one of the most misunderstood OOP concepts. Here's a practical guide with real-world examples, code you can actually use, and the mistakes most devs make.
Your Career Transformation Starts Now
Join thousands of developers mastering in-demand skills with Amigoscode. Try it free today.